Sketching is a fundamental part of the design process. It often comes early in the design funnel and sets the tone for the rest of the process. While sketching seems straightforward, there are certain ways to do it efficiently. This article will provide you with all the information you need to level-up your UX design workflow with sketching.
Why you should sketch
The main idea of sketching is to come up with the best solution to a problem. Sketching before wireframing begins allows designers to try out a multitude of ideas and iterate them before settling on one.
As an activity, sketching has five significant benefits:
1. Generate ideas
Sketching is an excellent brainstorming exercise — it supports the fail-fast approach and is a quick and cheap way to generate many ideas. The unfinished nature of sketches fosters new ideas; when we sketch out our thoughts, we automatically try to find the better solution to a problem.
2. Visualize ideas
Sometimes you may think that you don’t need to sketch because you already have a clear idea of how you want to build something. But in practice, it’s really hard to create something when ideas are locked in your head. Only by visualizing ideas will you be able to understand how something should look or work in detail.
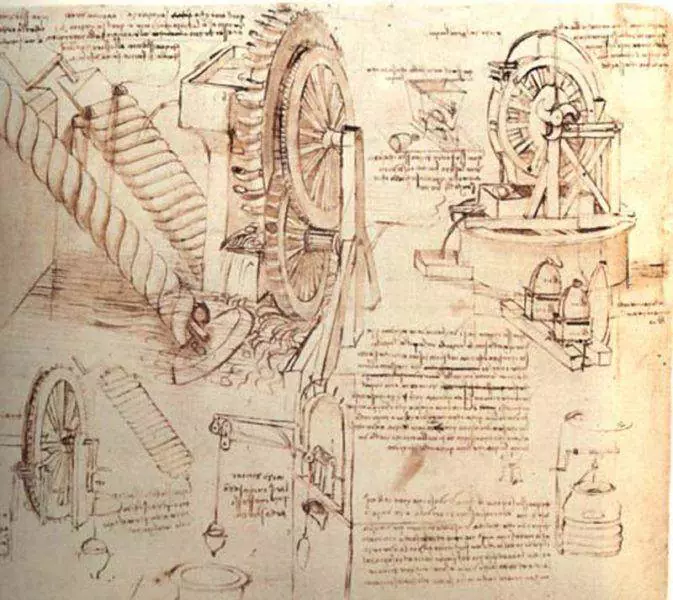
 Even great inventors, such as Leonardo da Vinci, had to sketch out their ideas before building them.
3. Communicate designs
When it comes to communicating design decisions, it’s possible to communicate ideas verbally, but verbalizing ideas is not very practical. When we explain concepts with words, we assume that what we say will be understood by other people precisely the way we understand it. Unfortunately, this rarely happens because people interpret things differently. When you explain how something might look or work, everyone listening to you will use their own imaginations to interpret your words. As a result, they might have different understandings of your solution. This often creates ambiguity.
Since sketching is a form of visual communication, you won’t be forcing people to rely on their imaginations nearly as much because everyone will be able to see what you mean. Sketching kills ambiguity and helps build a shared understanding. As Le Corbusier, one of the most influential architects of 20th century, said, “I prefer drawing to talking. Drawing is faster, and leaves less room for lies.”
 Sketches made by Le Corbusier. Image courtesy of archidialog.
4. Better collaboration
You can use sketching to spark discussion. Sketches enable a team to discuss specific aspects of a design when reviewing ideas. They give team members something to refer to and something to bounce off. Teams can quickly filter the good and bad ideas out.

 A team discusses design ideas and sketch solutions. Image by General Assembly.
Sketching can be a powerful tool for involving stakeholders early on in the design process. Since sketching has a low barrier to entry, it allows non-designers to participate. Non-designers and stakeholders can use a visual representation of the solution to formulate a complete set of requirements for the project.
5. Faster iterations
Sketching allows you to iterate on your design quickly. Even when you have a high-fidelity prototype, it can be faster to validate new ideas through sketches before you have to make those changes to your digital prototype.
When you should sketch
While sketching can be used nearly at any stage in the product design process, it is especially beneficial in the early stages because it allows you to explore multiple design directions simultaneously and to identify the right design at a low cost. When you sketch a solution and don’t like what you see, you can just toss the sketch in the bin and start over.
Two key things to remember about sketching
Sketching is not drawing
Many people confuse sketches with drawings. This often leads to a potentially dangerous misunderstanding that sketches have to be pretty. Focusing on making your sketches look like professional illustrations is a big waste of your energy.

 While this sketch, created by Matt Corrall, looks really great, it can be considered more as a drawing rather than a pure sketch.
It’s vital to remember that sketches and drawings aren’t the same things — sketching is about getting ideas out and reviewing those ideas, not about creating a work of art. Thus, as long as your sketch can convey your idea, it’s a good sketch.
 Sketches should be easy to produce and easy to trash. They can look bad and still work wonderfully. Image credited to Gareth Botha.
Sketching is not prototyping
Another common misconception about sketching is that sketches and low-fidelity prototypes are the same things. While both design artifacts might look similar and both can be used to illustrate design concepts, they are by far not the same thing. Sketches and prototypes have different roles in the product development process and should be used at different stages. Sketching usually comes before prototyping and has the goal of communicating design ideas in a tangible format. Later, it’s possible to build a low-fidelity prototype based on that sketch. A prototype, even the low-fidelity one, demands a more significant investment, and designers shouldn’t (and often can’t) produce as many prototypes as sketches.
 Paper prototype. Image by Google.
How to sketch 101
Now that you know why sketching should be a part of your design process, let’s talk about how to sketch. While there are no hard-and-fast rules, it’s worth remembering a few key points essential to producing decent sketches.
Before you start sketching
Tools
The great thing about sketching is you don’t need to buy anything fancy or expensive. Basically, all you need are some pens and paper.
Pens. You should get yourself some good pens with different thicknesses, and a marker pen. I recommend purchasing the Sakura micron 0.2mm / 0.5mm for creating fine lines and details, a Sharpie permanent marker for thick lines, and a highlighter that will be used to make elements pop in your sketches.
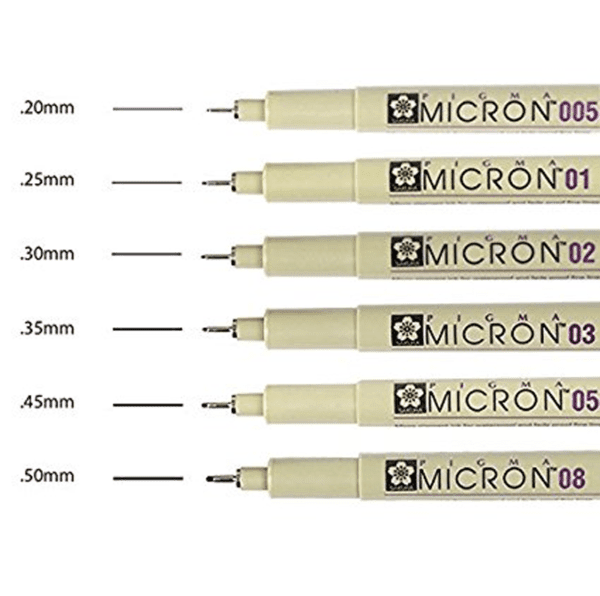
 Sakura micron blister card ink pen. Image courtesy of Amazon.
- Paper. While it’s possible to create decent sketches using regular office paper, I suggest buying dotted paper. Dotted paper will help you draw your shapes and layouts more accurately.
Here are a few extra tools that make sketching easier:
- A folder. Paper is a relatively fragile substance, and paper sketches can be easily damaged. A simple folder will help you keep them safe.
- Papere trays. Paper trays will help you sort papers. I recommend purchasing a triple letter tray and using it in the following way: one tray for clean paper, one tray for unfinished sketches, and one tray for the finalized sketches.
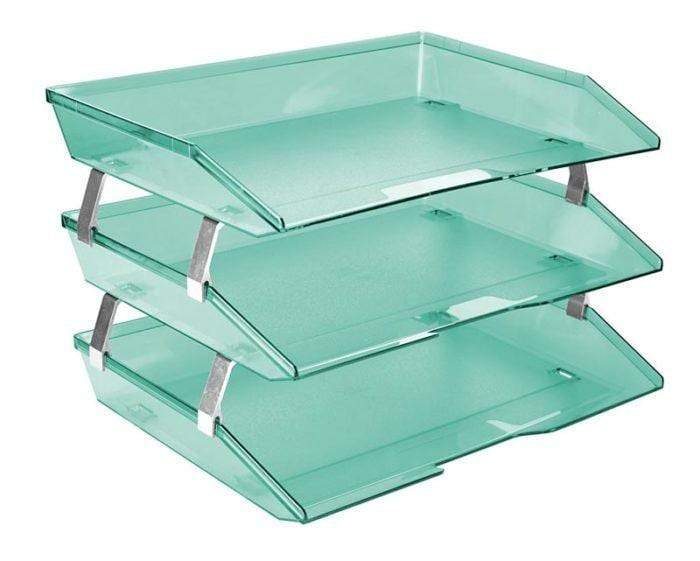
 A triple letter tray will help you organize your sketches. Image credited to Amazon.
- UI stencils. Stencils are great for refining possible solutions. They can be a beneficial tool if you plan on creating a paper prototype from your sketches. You can find a good variety of stencils on uistencils.com or Amazon.
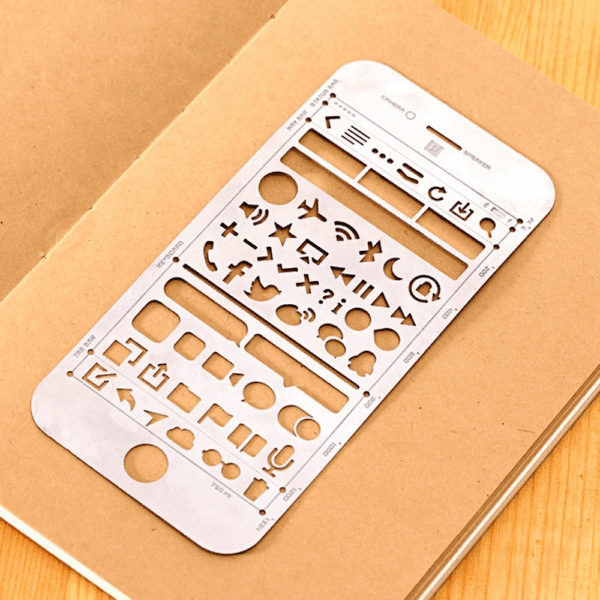
 A UI stencil for an iOS app. Image by Amazon.
- A quilting ruler. This lets you quickly draw a series of lines that are offset by a set distance from each other.
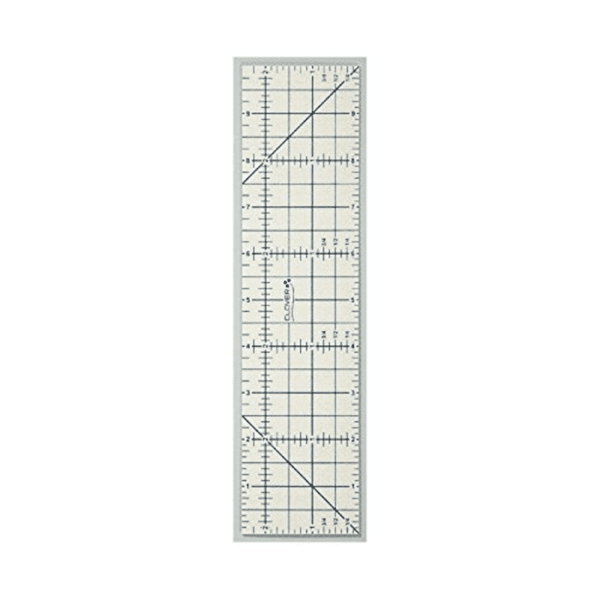 A quilting ruler. Image by Amazon.
- A sketchbook. A sketchbook is a small notebook that you can carry with you to keep a record of your designs. By taking a sketchbook with you, you’re able to capture your idea on paper at any time.
 Having a sketchpad handy allows you to quickly jot out ideas. Image courtesy of Moleskin.
Define your sketching goal
Before putting pen to paper, it’s essential to set your aim. You should take two crucial moments into account:
- Define what you need to draw. Decide what you want to draw, whether it’ll be a fragment of your design or a series of screens that represent a user flow. Do you want to generate different options for one particular screen, or design a user journey that includes a number of screens? This will help you keep your focus.
- Decide whether you are going to show your sketches to your peers/stakeholders or not. This will help you determine the level of detailing you need to achieve with your sketch. For example, if you are sketching for yourself, you don’t need to worry about how sketches will look to others as long as the information is clear to you. However, if you plan to show your sketches to stakeholders, you’ll likely need more details and refinement in your sketch (other people should be able to understand what it’s all about).
What to do during sketching
Warm up
Shake your hands out before sketching. This will help to relax your wrists. Warm-up by drawing basic shapes such as lines, circles, and triangles.
Avoid getting bogged down with a single idea
Sketching is all about ideation. Follow the rule “breadth before depth.” Generate as many ideas as possible and choose the most promising ones.
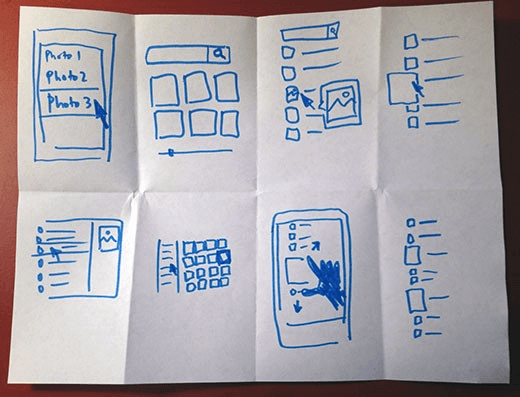
Keep sketches as simple as possible
The key to sketching is speed and simplicity. Leave out all non-essential details and decorations. Always go for the simplest possible sketch to prove that your concept is working.
Set a timer for the activity
Setting time constraints using a timer can help you stay focused on your goal. When you decide you’re going to spend just one hour on sketching, it helps you spend this time more efficiently.
When you’re practicing sketching during workshops or brainstorming sessions, try to use a technique called “Crazy Eights.” Originally proposed by the GV team in their book on design sprints, this technique involves drawing eight sketches in five minutes.
 Crazy Eights is an excellent way to crank out variations of ideas quickly. Image by Jake Knapp.
Add titles and numbers to your sketches
Make a habit of titling each sketch. This will make it easier to differentiate between different sketches and refer to a particular example later on. Adding titles is extremely important if you work on many parts of an app simultaneously.
 The title will help you understand what a sketch represents. Image by Dane Petersen.
Numbering your sketches will help you order them, and it will be much easier to combine them into an interaction flow later on. Numbering may also be useful during discussions (especially online discussions), as colleagues can simply mention a sketch number and it’ll be immediately clear which sketch they mean.
Use arrows to connect sketches
Apart from pointing to specific elements in a sketch, you can use arrows to illustrate direction, interaction flow (i.e. what happens when a user clicks on a button), a sequence of events, or movement (i.e. indicating gestures or simple animated effects).
 Use arrows to define interactions. Image by Keith Tatum.
Add annotations and notes
Annotations are explanations located next to parts of a sketch that provide additional insight and clarify the meaning of individual elements.
Here are a few simple recommendations:
- Annotations should be short and sharp. A sketch isn’t a specification, and you don’t need to describe how something would work in detail.
- Write your annotations using a contrasting color.
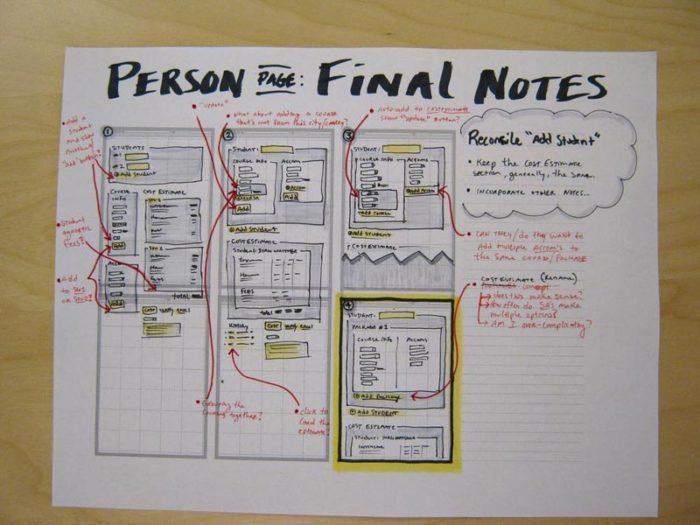
 A red color is used for annotations and notes. Image by Jason Robb.
After you finish sketching
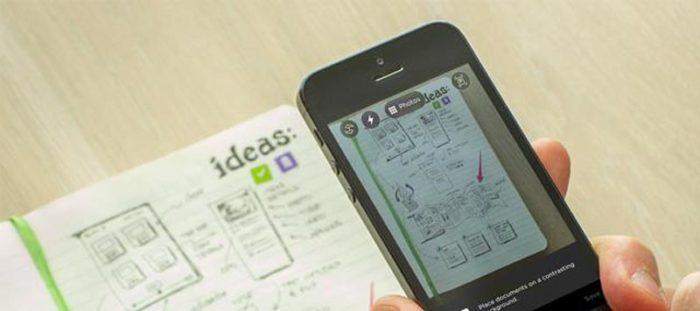
Create a digital copy of your paper sketches
Having a digital copy of sketches prevents you from carrying a pile of papers from meeting to meeting. It also makes it easier to share your sketches with team members. Simply scan your sketches with a tool like Evernote or Dropbox and provide a permalink to your team members or stakeholders.
 Scanning a sketch using the Evernote app.
Review and evaluate your sketches
At the end of a sketching session you’ll likely have a few variants of a design. Now, you need to choose which ideas are worth pursuing. Think about the strengths and weaknesses of each variant. Pick the one or two variants to best solve the problem. In some cases, you will need to combine ideas or parts of ideas into a single winning concept.
Ask for feedback
Encouraging feedback from your team members is the best way to improve your work. Share your work with your peers and ask them what they think about your sketches. Focus on these key points:
- Does the sketch make sense to them?
- What do they like and why? What don’t they like and why?
- What questions have they asked (i.e. what was unclear to them in your sketch)?
The feedback you gather will help you iterate on your concept. Remember to make your sketches easily visible to your colleagues. One of the most significant benefits of using a pen and paper to sketch instead of digital tools is that you can stick your work on the wall for all to see.

 Sketches are for sharing. Pin your sketches to walls to share your ideas with others. Image by Michael Lashford.
10 pro tips to improve your sketches
1. Overcome your artist’s block
The chances are, when reading about sketching, you might think, “Sketching won’t work for me. I’m really bad at drawing.” If you’re avoiding sketching because you have doubts about your art skills, rest assured you’re not alone. You need to overcome your fear of being judged by the quality of your drawings. It’s helpful to remember that the goal of sketching isn’t to test your arts and crafts skills, but to explore different ideas and then communicate them to others. Thus, as long as you can draw lines, boxes, arrows, and circles, you can sketch.
2. Practice makes perfect
Sketching is a skill, and just like any other skill, the more you do it, the better you’ll get at it. Get into the regular habit of sketching and this will help you level-up your skills.
If you just recently started sketching, practice drawing basic shapes like lines, triangles, and circles. Those elements are the building blocks of any sketch. By nailing down those frequently used elements, you’ll establish an excellent foundation for your sketches.
3. Don’t focus on the visual quality of your sketches
Focusing too much on the visual quality of your sketches can hinder you. When you focus on how “pretty” your sketches should be, you can easily forget what problem you’re trying to solve in the first place. Remember, in most cases you’ll throw your sketches out in the end, so they don’t need to be highly polished. Clarity should be your top priority. Thus, instead of thinking, “Is this sketch pretty enough?” think, “Is this sketch clear enough?”
4. Use colors and shadows for purpose
One of the basic rules of sketching is that it’s better to create your sketches in grayscale to prevent being distracted by colors. At the same time, it’s possible to use a limited number of colors (say, one or two contrasting colors) to either draw attention to specific elements (i.e. make certain elements pop out) or for use as visual signifiers (e.g. you can use blue for links and other interactive elements). If you decide to use colors, make sure you use them consistently.
Similar to colors, adding shadows to interactive elements (such as buttons) will help people better understand the meaning of your elements.
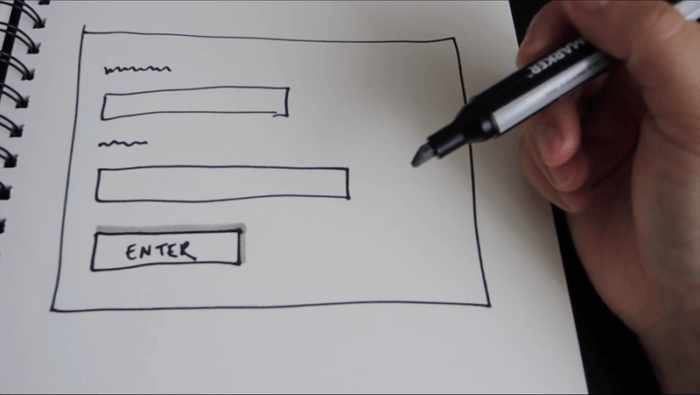
 A shadow makes it clear that an element labeled “Enter” on your sketch is a button. Image by Yael Levey.
5. Learn to draw long lines
When sketching long lines, consider moving your arm and pen with your shoulder rather than with your elbow or wrist. This will allow you to draw longer and straighter lines. As a bonus, this technique easily translates to drawing on a whiteboard.
6. Sketch in layers
This is a great tip from the article The Messy Art of UX Sketching by Peiter Buick. Peiter advises starting with a light grey marker (20-30 percent grey) and using a darker pen for each successive layer. When you’re ready to finalize the sketch, you can use a 60-percent grey pen. This technique allows you to create your sketch step by step, outlining the structure of your sketch first, and adding required details after.
7. Rotate the page
Professional sketchers are used to turning the page all the time to get the best drawing position they need. This helps them get straight lines with the least amount of effort. Thus, next time you need to draw a vertical line and find it difficult, simply rotate the page 90 degrees and draw a horizontal line instead.
8. Use templates
Using a template while sketching will save you time. You won’t need to redraw common elements each time you sketch a new layout.
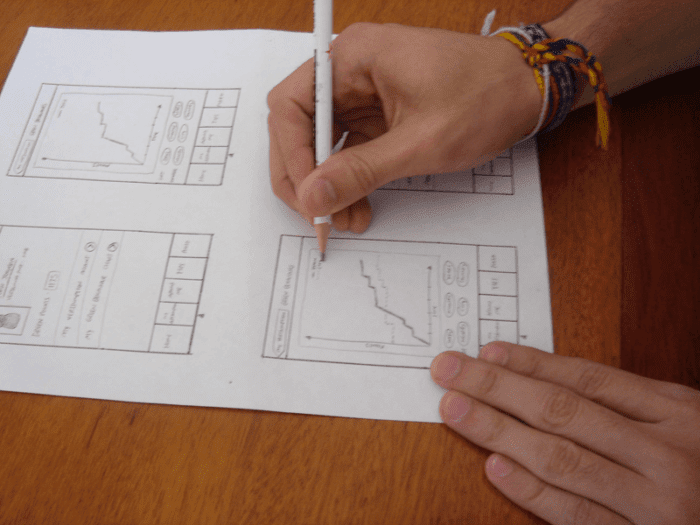 Image credited to UXMag.
You can also use a photocopier to quickly create templates from existing sketches.
9. Try digital sketching
While sketching implies using a pen and paper, it’s also possible to sketch using digital devices, such as an iPad Pro with an Apple Pencil. Digital sketching using the iPad Pro eliminates eraser dust and stacks of used paper. It might be preferable for people who often switch between working at an office and working directly with clients because it is easier to organize your sketches.
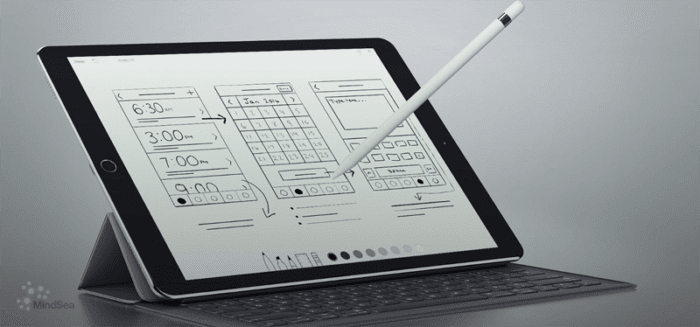
 Sketches created using an iPad Pro look like they were done by hand with a pencil. Image credited to Amanda Somers.
10. Experiment
When it comes to sketching, there’s no such thing as a one-size-fits-all style. Everybody has their own sketching style. But if you are just starting to sketch, you might not know what your style is. Don’t worry. After a while, you will find out which ways of working suit you best. To get there, you’ll need to experiment and constantly try new techniques. Thus, don’t be afraid to try out different formats, styles, and methods.
Conclusion
Sketching is a time-tested approach to explore, refine, and communicate your design ideas. It’s a critical element of crafting excellent user experience. Great sketching skills ultimately save you a lot of time, help you think clearer, and find better solutions to problems.